Friday 29 January 2016

Game Art Week Seventeen

Continuing the Character project we should of had our body of the character modelled in Zbrush by now, however I had  some problem proportions. So I started my character again, with a basic character model in 3ds max which I then imported into Zbrush to starte modelling. This way I would have the proportions correct from the beginning and could therefore start modeling details and anatomy straight away.

These are just mobile uploads that I took in the computer labs at the time while I was sculpting. these are not very good quality images, however they demonstrate my progression.


We learnt how to create clothes in zbrush using a technique with sub objects. Using a body model, then masking areas you want to create clothes and setting them as a sub object and can be sculpted how I wish without interfering with separate objects. Most of my characters clothes do not fit the model closely, are fairly baggy and loose fitting, which is why I am going to begin modelling my characters clothes in 3ds max instead, then import into zbrush for details. Firstly I exported the finished naked character model as fbx, so I could import it to 3ds max to use as a base to model the the clothes around.

I also continued with the design process, which I finished my final sketch design for my chosen idea for the male character, Which I continued to developed in Orthographic and colour iterations.

I also developed the colour iterations and orthographic for the girl character. Now I need to progress onto to develop photobashing realistic orthograthics of both characters and finish modeling of the girl high and low poly.


Friday 22 January 2016

Game Art Week Sixteen

This week I continued with the character project, which I began learning more about zbrush and applied this towards the character project . I learn't how to create a skeleton from Zspheres, then edit to paint over the top to sculpt muscle and edit to a skin so that it allows for sculpting with paint brushes, to fill out more muscle definition and add facial features. From this I began sculpting the face, using the clay brush to build up shape and structure. I started sculpting the brow, nose and cheeks, which I feel I was able to understand the anatomy well enough to build a realistic representation of my character.

These are just mobile uploads I took while I was sculpting at this time, they are not very good quality photos, however it demonstrates how I used the zspheres to sculpt the body.


Friday 15 January 2016

Game Art week Fifteen

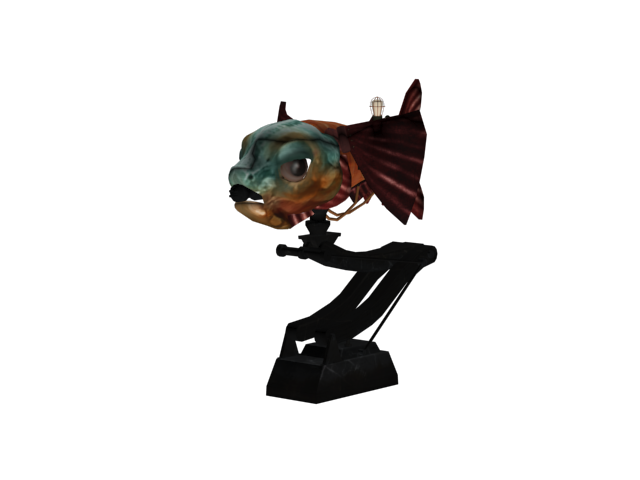
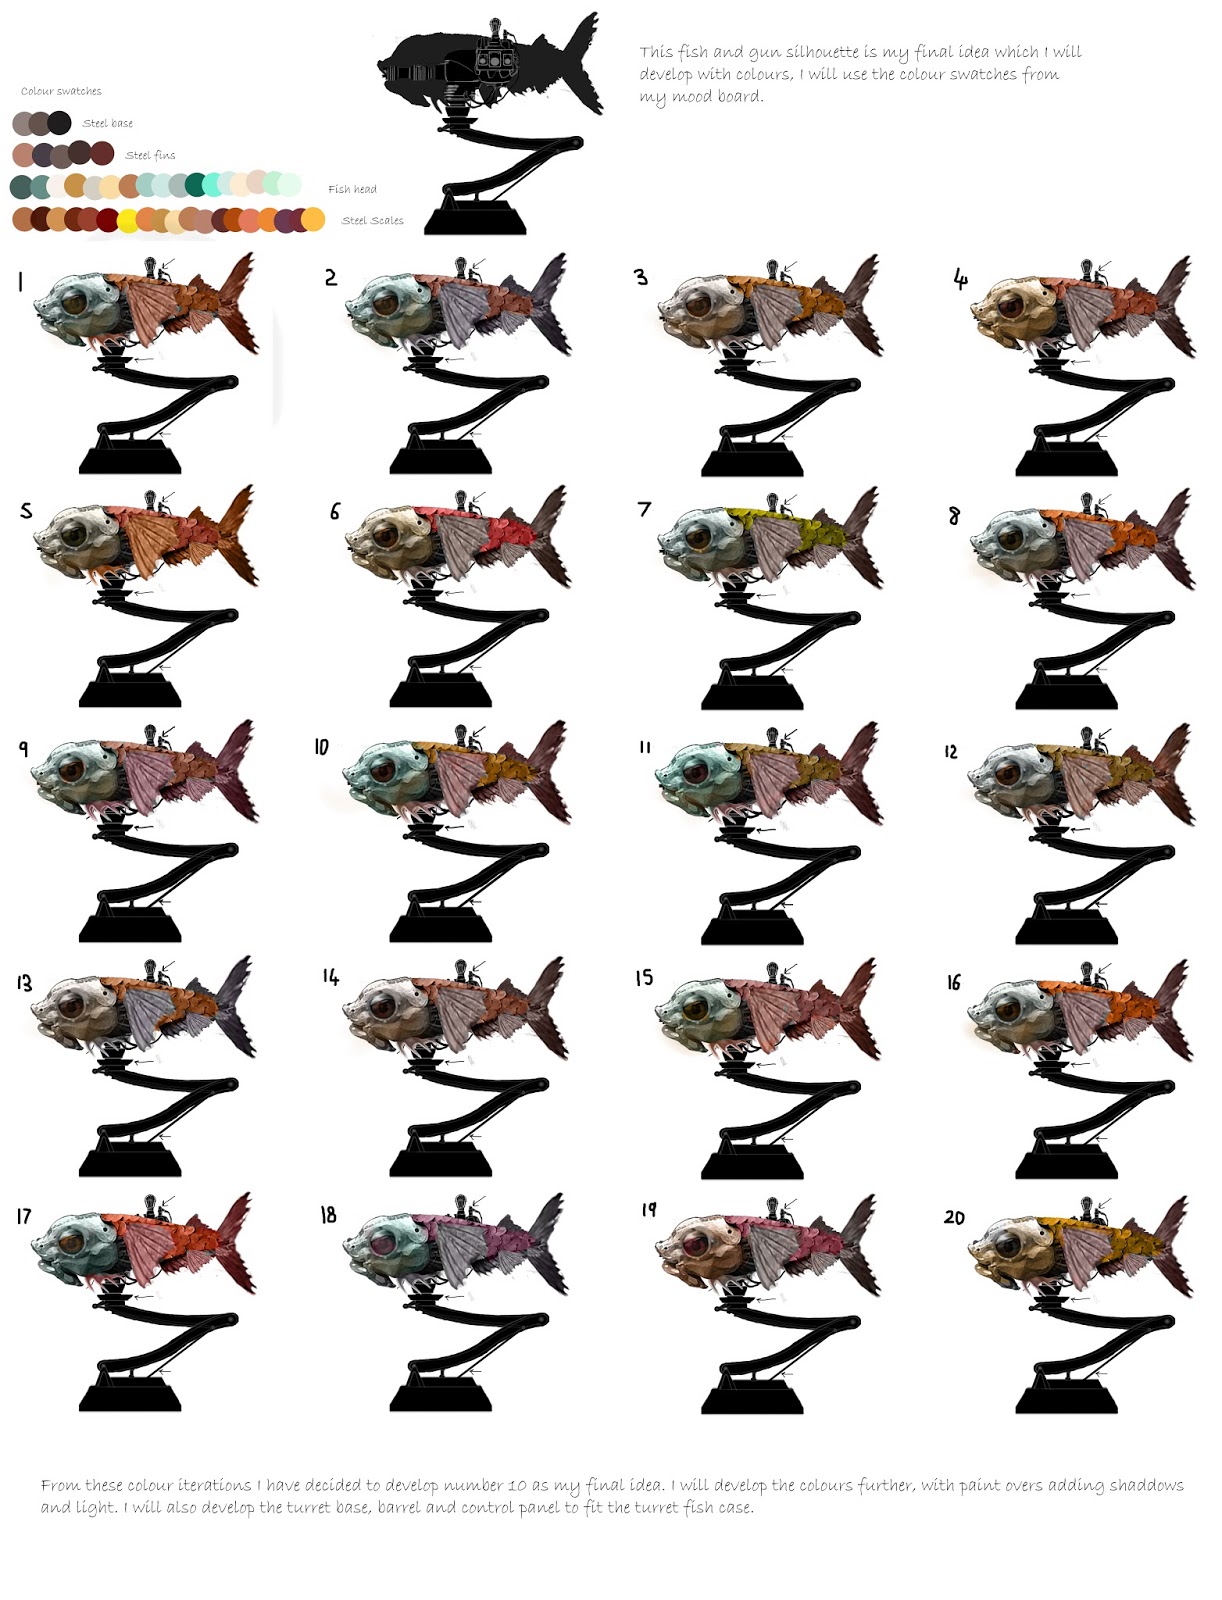
At the beginning of the week I had game production, which was not only the day of  the sentry gun project hand in, but is also when our new project will be introduced to us. However, even though it is the project hand in day , I still have a few things to sort out that I had problems with throughout the project, for example the pivot point of the animation was off center, even though the pivot points where correct in 3ds max.The texture I created for the gun fire wouldn't show up and I needed to take renders.

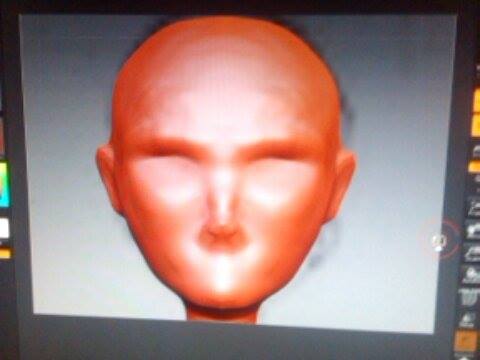
I learnt more about Zbrush and the tools you use. now I know how to apply symmetry, how to use different paint brushes, add different materials, rendering and has overall gave me more confidence in sculpting.

In life drawing this week I really enjoyed the lesson, we focused on the head and shoulders, drawing from interesting angles, with the head facing down, up and from the side. I feel I did well with this task as measuring is one of my strength, and I used to draw portraits all the time, with interesting angles when I was at college.

This week the new character project had been introduced to us, we have to design two Dichotomy characters and model on of them, both have to be human, but one can be humanoid. So far I have decided that the world my character will be in is extreme cold climate, therefore the clothing they will wear will fit the temperature, with lots of layers and fur. I like the idea of having a larger protector character and a smaller protected character, such as a father and daughter relationship. I have also decided they will be placed in rural Japan. We also looked at Character creation and what makes up a character, such as a backstory, the world they live in, personality, body type etc, that would determine how a character will look for example, my characters world is set in a cold climate, which means they would wear layered clothing.

Monday 11 January 2016

Sentry Gun Project - Game Production

Unreal 4 screen capture, left side perspective.

Unreal 4 screen capture, Back perspective.

Unreal 4 screen capture, Front perspective.

Unreal 4 screen capture, right side perspective.

High poly turret metallic render in Zbrush.

High poly turret shiney render in Zbrush.

High poly turret clay render.

Low poly turret clay render.

High poly turret wireframe render.


Low poly turret wireframe render.


At the beginning of this project I created a low poly model of my sentry gun based from my visual designs. I used strip modelling for the head using planes, with a symmetry modifier and shapes for the rest of the model. I then duplicated the whole model and began adding details for the high poly version, such as scales. I also imported the head to z brush to paint more shape and detail.

After I had finished modelling both the low and high poly models, I could unwrap the low poly version. I used a cylindrical unwrap for the head and relaxed the shape, for the rest of the model I used pelt unwraps with added seams and the relax tool with detached seams. 

Now the model was unwrapped I could bake the normals. I began by naming each model accordingly, then with the low poly model, I selected all the polys and set smoothing groups to one. I aligned the high poly to the low poly, then used render to texture, added the correct settings and edited the cape projection to fit the high poly model.

while texturing I used a base block colour for each different material surface, then used images and painted over the top, finally I added decals such as scratches, dirt and rust. I then created a multi sub material in 3Ds Max  with each material assigned to the correct ID. 
After my models were finished I imported each model to unreal 4, to edit the pbr materials. For the head and eyes I used a clear coat material, to make it look painted and glossy. For the body and fins I used a steel material. For the control box I used plastic with scratches, glass for the bulbs and rubber for the cables. for the rest of the model I used a metal material.


Sunday 10 January 2016

Sentry Gun Project - Visual design


Game Art Christmas Break ( week 12, 13, 14)

Over the Christmas break I continued to work on my sentry gun project. Now that I had previously finished my Sentry Gun turret in 3Ds Max including textures, I could import them into unreal 4 and apply them to the provided turret animation. This didn't take me long, as I was just dragging my turret meshes to the correct parts of base, horizontal yaw, gun pitch and barrel, then moving them in the viewport to fit according to my design. During this I noticed while playing the level, my turret was following the front its back, so I had to go back into 3Ds Max and rotate my whole model 180 degrees and re import them to unreal, which fixed the problem. I then created a gunfire texture using photos, painting over and effects in photoshop.
I now need to edit the materials of my models, first I edited the gun pitch which had the most materials assigned to it. I started with the head and eyes, creating a clear coat material, then I created a steel metal material for the body and fins, finally I created four different materials for the control box, including glass, plastic with scratches and rubber.

Game Art week Eleven

This week was the last week of uni before we broke up for Christmas. I continued with the Sentry gun project, which I had finished unwrapping my low poly model and could move onto baking normals. Baking Normal allows details from the high poly version to show up on the low poly model. I began by making sure each model was named accordingly, such as all the low poly models were named with low poly added on and the same for the high poly models. I then started with the pitch (fish) selecting all the polys on the low poly model and setting the smoothing group to 1, I aligned the high poly model to the low poly, using the align tool. With the low poly model, I selected render to texture, then added the settings it needed and edited the projection cage to fit around the high poly model. I repeated this process for all separate models, the base, horizontal yaw, pitch and barrel.

After finishing the normal maps for all models, I began texturing for each model using photoshop, first I made a base block colour layer covering the UVs, which I then started using photos to add details and painted over the top. I finished my adding decals, such as rust and scratches. Once I had finished texturing, I had to set each model material IDs, so that when I export my model with texture each separate material ID will have different surface properties, such as glass and rubber. I then created a multi sub material and added each texture according to the material ID I set them as. When this was finished I needed to make sure the pivot points were at 0, so I could then export each model.
Finished low poly turret model with textures, 3Ds Max screen capture back perspective.

Finished low poly turret model with textures, 3Ds Max screen capture front perspective,

Finished low poly turret model with textures, 3Ds Max render back perspective.

Finished low poly turret model with textures, 3Ds Max render back perspective.


Game Art week Ten

Week Ten of the Sentry gun project I finally finished modelling the high poly version of my turret. I copied the whole of the low poly turret in 3Ds Max and renamed as high poly, I then started adding details to the copied model, such as screws, chamfered edges, fish scales etc. While modelling the high poly version I made sure all the details had sloped edges, so that when they are baked to normals, the details will show up more, rather than a straight edge that won't show up looking straight on it. During the week, I ran into some problems, such as the model of the fish head I used for the low poly model was in triangles, rather than quads making the model look bumpy. This happened as the low poly head was originally in quads as I had strip modelled it using planes. However it had too many polys to fit within the project limit, so I used the pro optimiser modifier to reduce the topology, which is when the quads of my mesh turned into triangles. Fortunately I had an earlier save of my fish head model as quads, therefore I could import this into my current scene in 3Ds Max and use this quaded head as the high poly version, which would smooth out the low poly version when the normals have been baked.

After I had finished modeling my high poly version of the turret, I decided to import the head into Zbrush to paint some extra details as it was looking a bit flat. I built up the eyebrow shape and cheeks, also added some pipe shapes down the top of the head and under the jaw. when finished I exported it and reimported the head to 3Ds Max.

High poly turret, 3D Max render back perspective.

High poly turret, 3Ds Max render front perspective. 
 Now that both the low poly and high poly models were finished, I could now begin unwrapping the low poly version. I began with the fish head using a cylindrical unwrap and relaxing it to smooth out the shape, The body I used a pelt unwrap and for most of the remaining model I used a pelt unwrap while adding seams. I also used a quick unwrap, then detached seams to relax them for most objects that were square.


Game Art week Nine

This week was a continuation of the sentry gun project. I progressed with both visual design and game production. I Carried on with creating the low poly model, we were advised to have already begun modelling earlier and create iterations of basic shapes, However I felt more comfortable to develop my turret in the same way I have done for all my previous projects, which is to develop my visual design ideas first, then move onto creating 3D models. Personally I do not think I makes sense to create 3D models before the design process, as I wouldn't have ideas to model or the 3D model iterations could be scraped, if then your design ideas are completely different, which would waste time.

Before I began creating my 3D model, I copied the side view image of my final design to a photoshop file and cropped to size, I also draw a front view of the fish head and made the same size of the side view image. I opened 3Ds Max and created planes for the reference images I just created in photoshop. I moved then just outside the centre of the grid and edited plane object properties to back face cull and freeze. I then started the turret model, first by strip modelling half of the fish head with planes, then used a symmetry modifier to mirror the half to make a full head. I then created a cylinder for the body which I shaped to reference image, I did the same for the fins and eyes, which made the gun pitch complete. I moved onto the base using cylinders and boxes, while using the reference image as a guide, I also did the same for the horizontal yaw and barrel. I finally modelled the control cox using boxes and cylinders. After finishing the low poly model I could now begin the high poly model, which I will aim to have finished by week 11.
Low poly turret, screen capture from back perspective.

Low poly finished turret, screen capture from front perspective.

Game Art Week Eight

This week I continued the sentry gun project, and made a final decision of which of my silhouettes to use for the final piece, I took different elements of iterations which I liked the most and added them together. I will continue to develop this with colour and value iterations.

We were asked to have a basic model of our sentry gun already finalised at this point, however as I had not previously developed my design enough to begin the modelling process. Therefore I started the 3D work after I had finished my designs, as I feel comfortable to work in this order of idea development.

This week I also finished my colour iterations of my final design. I decided to chose a design which was vibrant and colourful as fish generally are. Which I developed further with a paint over, This demonstrates the material properties I wish to achieve and the features my turret possesses. The head and eyes of the fish will be wood carving, with a painted varnish, so the material will look very shiny, which will use a clear coat material with PBR. The body and fins of the fish will be steel, which I will use a metal material. The base, horizontal yaw and the barrel of the turret will all use the same material, which will be a painted metal. Finally the control box will be mostly made from plastic, which I will add scratches on the surface, the bulbs with use a glass material and the cables will be rubber. Also I want to add a red light to the center bulb of the control box, so that when the turret animation is activated, the light will flash.