Friday 26 February 2016

Game Art week Twenty one

This week I continued with the off the map project. After last week we focused on planning and worked on gant charts and asset lists. This week I began concepting environment art for a forest, from the reference images and mood boards my group had collected, I sketched ideas in my book then scanned them in to paint over them with colour. Working as a team along side becky as both environment artists, I used the colour palettes to change the lighting and atmosphere of my concepts to match each part of the level. We decided to have a time cycle, which it would start at sunset and as the player progressed through the level would gradually change to midnight.


Friday 19 February 2016

Game Art week Twenty

This week was the introduction to the 'off the map' project and we were announced which groups we would be working in. This year the theme is Shakespeare and is broken into three categories, firstly castles for Hamlet or Macbeth, Forest for Mid summers night dream and shipwrecks for The tempest. We had our first group meeting which we discussed which theme we wanted to do and began planning what level we wanted to create including level design, game play mechanics and environment ideas. After much discussion, we decided the best theme to choose would be Mid summers night dream, as it would create a more interesting environment, we wanted to create a comedy game with puck as a character, guiding and talking to the player throughout the game, we also wanted to create environment with painted stage sets, which would become more noticeable to the player as they progressed through the level, making the level seem more like a dream as the player moves through the level. I used this time to create the group website for our project.

In critical studies this week we had cv and covering letter seminars, which we talked about what to include on your cv, how to write a covering letter and profile, to make yourself stand out. I found this very helpful towards future job applications and received advice, feedback and print outs to take with me, with examples.

Friday 12 February 2016

Game Art Week Nineteen

This week is the week of the Character project deadline. I have finished all my visual design work for both characters, however still have more to work on with the game production side of my character. I encountered some technical problems towards the end of this project, for example I downloaded a version of zbrush at home and only found out till this week that, the version at uni is an updated version, so when I was transferring the ztools from uni to home, it wouldn't let me open them up. which I thought I could solve by exporting and reopening. however doing this erased the sub levels of each model. Also I found that one of my resent ztool files wouldn't open because the computer said there wasn't enough ram, which resulted  in me losing a lot of work. Which I now had to work really hard in re sculpting the body and face within these last few days.

After I finished sculpting all the models for my character. I began unwrapping in 3dsmax , which I then started on creating the texture diffuse maps, however I didn't have much time left to put as much effort in as I would of liked to, I used my orthographics of my character and photobashed them to make the textures.

Dichotomy Character Project, Visual Design


Friday 5 February 2016

Game Art week eighteen

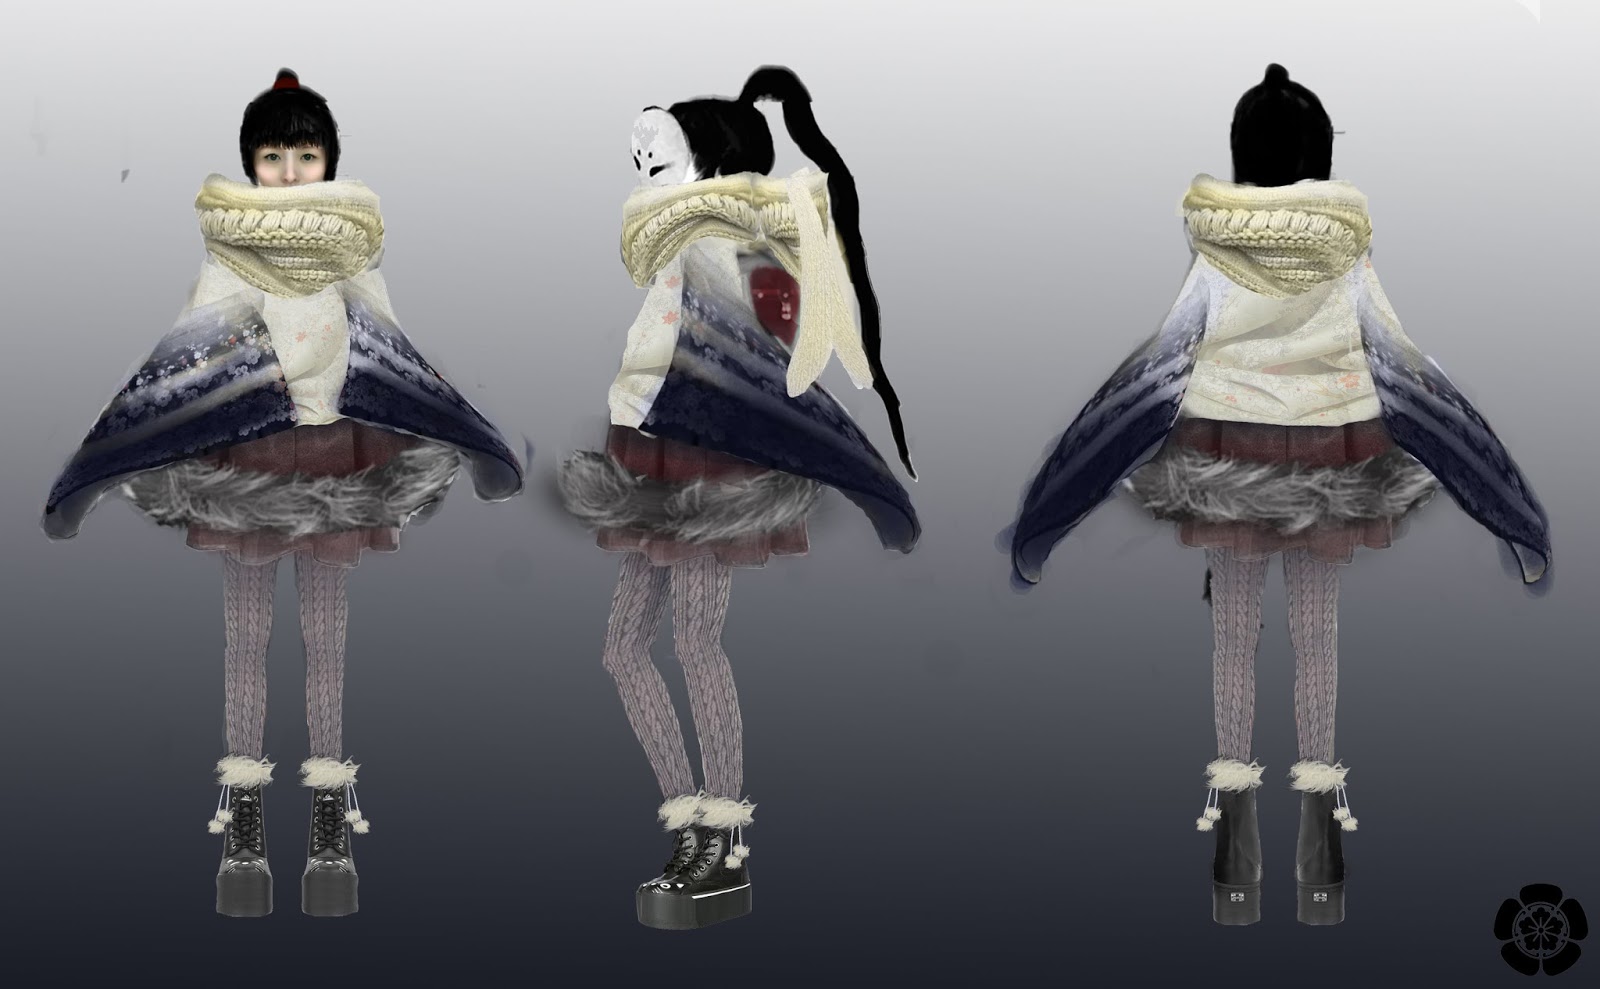
I continued the development of my character designs and pushed further with photobashing orthographics to have a clearer final representation of what I want both character to look like, so it will be easier to transfer my ideas to 3D.


After modelling some low poly assets in 3ds max for my characters clothes,such as the top, cloak, scarf, skirt, shoes and fur, I imported them all to Zbrush as sub objects to my girl Ztool and began adding details. I also worked more on the girls face, using two spheres on a sub tool inside the face as the eyes, so it would be easier to sculpt the eyelids over the top.


After I finished sculpting all the clothes, body and hair, I used the Zremesher tool, to adapt the topology to the newly sculpted mesh. I continued to use this until I reached a low enough poly count for each asset, which I exported to be imported to 3dsmax. I now need to unwrap the low poly models, so that I can move to to texturing and baking. I could then use the low poly and high poly versions to bake the normal maps. I chose to bake the normal maps in 3dsmax rather than zbrush, becasue I wasn't very confident with using zbrush yet as this was my first time using it.